
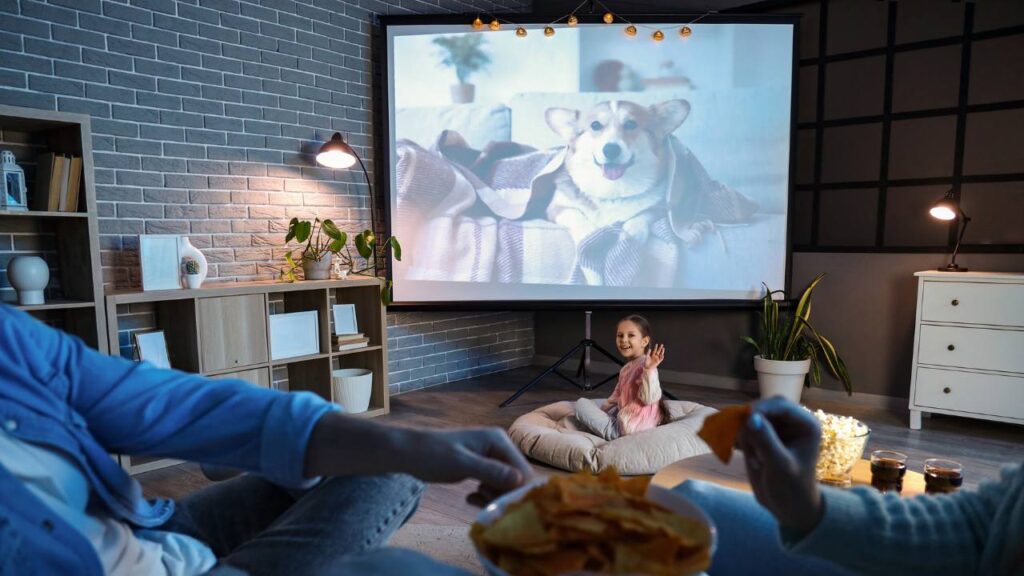
Want to turn your movie nights into a big-screen experience? Installing an electric projector screen is one of the best solutions for modern smart home setups in Charlotte, NC. We created this guide to help you learn how to install automated projector screens safely and hassle-free. We’ll discuss solutions for building a home theater and also updating your own existing setup.
Why Choose an Electric Projector Screen?
Automated projector screens offer a luxury feel and viewing experience in your home theater space that can’t be matched with manual pull-down screens. With automation, you can open or close the screen with a switch on the wall, remote control, or even your smartphone. Plus, electric projector screens will provide a sleek appearance with no visible cords or wires.
Step 1: Choose the Right Screen for Your Space
To begin with, you need to select a screen size that fits your projector and the room. Measure the distance from your projector to your wall, and ensure your screen’s aspect ratio matches your projector’s resolution (in most home theaters, 16:9 is the standard).
If your house has smart technologies, you can look at screens compatible with home automation systems, such as Control4 or Google Home. This will enable you to synchronize your projector, lights, and even sound system so that you can have a movie experience with the touch of a button.
Hint: Do not just buy the least expensive models available online. Seek reputable brands that are high-quality and reliable, particularly when they will be connected to a larger smart home system.
Step 2: Plan the Installation Location
Depending on your layout, your screen can be attached to the wall or ceiling of your room. Ceiling mounts will provide a smooth, concealed appearance, ideal in case your screen folds back into a casing.
Identify your wall studs or ceiling joists with a stud finder where you will be mounting it. The screen casing is cumbersome and should therefore be grounded appropriately. The motor will also require a power outlet or a nearby wiring connection.
When you already have home theater solutions in Charlotte, NC, you are likely to have power sources in strategic locations, in which case an electrician can provide one without challenges.
Step 3: Mount the Brackets and Screen
After marking your position and leveling, drill holes in the wall studs or ceiling joists to ensure a good grip. Install the heavy-duty mounting brackets, ensuring that they are straight and well-anchored. Gently remove the projector screen housing and attach it to the brackets ensuring that the two ends fit into place.
Move back and check alignment; pull the screen down lightly to check stability, and adjust if there are slight irregularities before tightening it completely. The screens attached to the ceiling are not light, so it is a good idea to have a friend to help. However, the smart idea to allow a safe and professional appearance of installation that will fit nicely into your home theater solutions Charlotte, NC system.
Step 4: Connect Power and Test the Motor
Once the screen is firmly fixed, plug it into an electrical socket and test the motor. Most electric projector screens are supplied with a remote control or a wall switch. Press down to unroll and press up to retract. The movement must be gentle and noisy.
When you have Charlotte home automation in your home, this is where you can have lots of fun and connect your screen to your automation center. You can set it to automatically reduce when you press Play on your movie system or even voice-activated, such as Alexa, start movie night.
Step 5: Fine-Tune the Viewing Experience
Once your electric projector screen has been set up, tune your projector to make sure that the picture is centered, leveled and covers the screen without any distortion. Test the screen surface by touching it and looking to see whether it has any wrinkles or ripples and then slightly lowering and retracting the screen surface will help it lie flat.
Maximize lighting by fading or managing room lights to minimize glare and enhance contrast and think of minor LED backlighting to create more of a cinematic appearance. These are the bare minimum modifications to make the process of your home theater solutions Charlotte NC system immersive and smooth viewing.
Maintenance and Long-Term Care
To ensure that your electric projector screen remains constantly in good condition, do the following:
- Clean the screen with a low-carbon microfiber cloth.
- Do not use harsh chemicals, as they may damage the screen material.
- When the screen is not in use, retract it to save it from dirt and other accidental damage.
- For smart home setups in Charlotte, NC, regularly update your automation system’s firmware to ensure compatibility with future smart home upgrades.
- Check the brackets and screws every half hour or so and tighten them.
- Check the motor regularly to ensure smooth operation and avoid mechanical problems.
This checklist will ensure your screen and home theater last for years to come.
When to Call a Professional
Installing an electric projector screen is one of those upgrades that transforms your home theater from “nice” to “next level.” With the proper preparation and tools, you can do it yourself, but for full smart integration, working with Charlotte home automation professionals ensures everything runs perfectly together.
If you are not sure of how to make electrical connections or would like to get your screen into a complete automation system, call Easy Living Technologies. The screen can be correctly mounted by professional installers, who will also be able to connect it to your lighting, sound, and automation systems to ensure it performs in harmony.